5 min Quick Start:
Prerequisites:
Before you use MDB React make sure you have installed Create React App package. This package contains development environment that will speed up the development process. Node 6 or higher is required. If you are using our PRO version, you have to install a GIT.
To install Create React App, in your command line type:
$ npx create-react-app my-app
$ npm init react-app my-app
$ yarn create react-app my-app
New project:
Step 1: If you haven't downloaded MDB React package yet, go to Getting Started page and download it now.
Step 2: Unzip downloaded package and open your unpacked directory.
To install the dependencies, depending on your node module manager, run:
$ npm install
$ yarn
Step 3: When you've downloaded everything, it's time to run the second command wich will serve your app on localhost:
$ npm start
$ yarn start
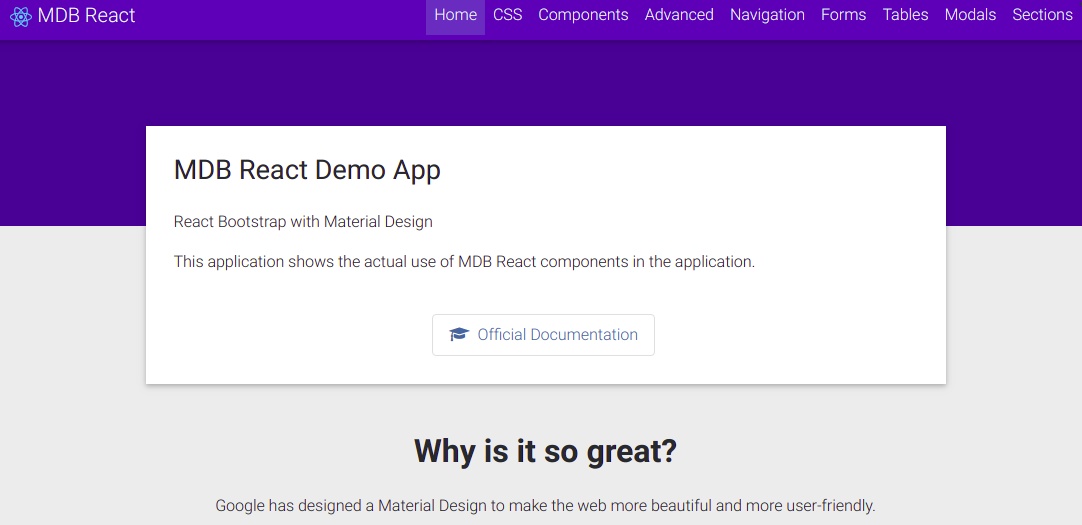
Step 4: When you check what is served at your port 3000 you should see our demo app. Explore it and choose components you like. On every page you will find link to our official documentation of the component. Check it out!
Step 5: If You want to completely remove our demo from Your App, just run:
$ npm run remove-demo
$ yarn run remove-demo
$ npm start
$ yarn start

Step 6: Copy our component's code to your project and compose your website. And yes, it's that simple!
Step 1: If you haven't downloaded MDB React package yet, go to My Orders page and download it now.
Step 2: Unzip downloaded package and open your unpacked directory.
* If You want to install dependency from our GitLab
repository, please open package.json file and copy the link to our repo from the
commented line ("//": "git+https://oauth2:..."). Then replace the direct
path to /.mdbreact.tgz in dependencies with the copied link. Don't
forget to replace
<YOUR_TOKEN_GOES_HERE>
part with your private gitlab access token.
It should look like:
"mdbreact":
          "git+https://oauth2:YOUR_TOKEN_GOES_HERE@git.mdbootstrap.com/mdb/react/re-pro.git"
How to generate private gitlab access token:
- Visit https://git.mdbootstrap.com and log in. If you are a PRO user, you should receive an email (from GitLab) with an activation link, after purchase (please check your spam folder as well). This email is send to the email address used for billing.
- From top right corner click at your avatar and choose "Setting → Access Tokens"
-
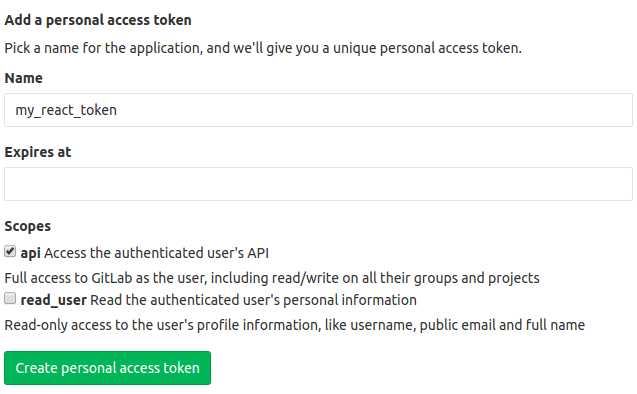
Provide a Name for your token and choose "api" from scopes. Then
click "Create personal access token"
-
Once your token will be generated make sure to copy it and store in
safe place. You won't be able to access it again.
In case of lose, you will have to generate new token
again.

To install the dependencies, depending on your node module manager, run:
$ npm install
$ yarn
Step 3: When you've downloaded everything, it's time to run the second command wich will serve your app on localhost:
$ npm start
$ yarn start
Step 4: When you check what is served at your port 3000 you should see our demo app. Explore it and choose components you like. On every page you will find link to our official documentation of the component. Check it out!
Step 5: If You want to completely remove our demo from Your App, just run:
$ npm run remove-demo
$ yarn run remove-demo
$ npm start
$ yarn start
Step 6: Copy our component's code to your project and compose your website. And yes, it's that simple!
Existing project:
Step 1: Create new react project using the command:
npx create-react-app my-appStep 2: cd my-app
Step 3: Install MDB React
$ npm install --save mdbreact
$ yarn add mdbreact
Step 4: Import style files into the src/index.js
before the App.js file import:
        import '@fortawesome/fontawesome-free/css/all.min.css'; import
        'bootstrap-css-only/css/bootstrap.min.css'; import
        'mdbreact/dist/css/mdb.css';
Step 5: Run your app
$ npm run start
$ yarn start
Step 1: Create new react project using the command:
create-react-app myAppStep 2: cd myApp
Step 3: GitLab installation
- Visit https://git.mdbootstrap.com and log in. If you are a PRO user, you should receive an email (from GitLab) with an activation link, after purchase (please check your spam folder as well). This email is send to the email address used for billing.
- From top right corner click at your avatar and choose "Setting → Access Tokens"
-
Provide a Name for your token and choose "api" from scopes. Then click
"Create personal access token"
-
Once your token will be generated make sure to copy it and store in safe
place. You won't be able to access it again.
In case of lose, you will have to generate new token again.
-
Within existing React project run:
            $ npm install
            git+https://oauth2:YOUR_TOKEN_GOES_HERE@git.mdbootstrap.com/mdb/react/re-pro.git
            --save
$ yarn add git+https://oauth2:YOUR_TOKEN_GOES_HERE@git.mdbootstrap.com/mdb/react/re-pro.gitThe link structure:
"git+https://oauth2:+access_token+@+repo address".If you don't have existing npm project you should create it first (
yarn init/npm init).Alternatively, you can update your dependencies in package.json like below:
            "dependencies": { "mdbreact":
            "git+https://oauth2:YOUR_TOKEN_GOES_HERE@git.mdbootstrap.com/mdb/react/re-pro.git"
            }
Then run
yarnornpm installto install the dependencies
Step 4: Import style files into the src/index.js
before the
App.js
file import:
          import '@fortawesome/fontawesome-free/css/all.min.css'; import
          'bootstrap-css-only/css/bootstrap.min.css'; import
          'mdbreact/dist/css/mdb.css';
Step 5: Run your app
$ npm run start
$ yarn start
Using SCSS files in Create-React-App project
Note danger: You have to install node-sass in
your project
Step 1: Install a node-sass
$ npm install node-sass --save
$ yarn add node-sass
Step 2: Copy files scss,
img from
node_modules/mdbreact/dist
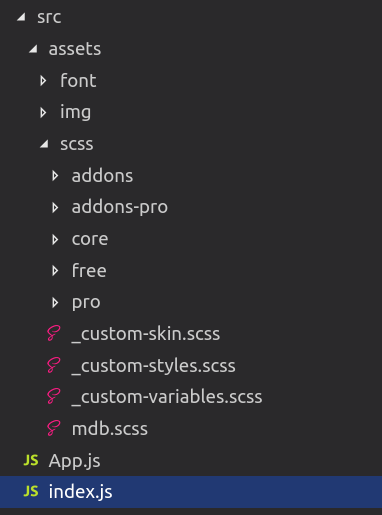
Step 3: Create new folder asstes and
put copied files into this and move this folder into
src folder.
Step 4: In your root index.js file instead of
importing CSS stylesheet: src folder.
import 'mdbreact/dist/css/mdb-free.css';
Import our main scss file:
import "./assets/scss/mdb-free.scss"
Step 5: You can override our default SCSS rules.
You can use _custom-variables.scss to change SCSS variablaes.
$danger-color: #006633;
Step 6: If you are using file structure like in the
description you have to change variable of image path. You can add
variablaes to the _custom-variables.scss. If you are using
diffrent file structure you have to do for your own.
// Your custom variables $image-path: "../../img" !default;
Step 1: Install a node-sass
$ npm install node-sass --save
$ yarn add node-sass
Step 2: Copy files scss,
img from
node_modules/mdbreact/dist
Step 3: Create new folder asstes and
put copied files into this and move this folder into
src folder.
Step 4: In your root index.js file instead of
importing CSS stylesheet: src folder.
import 'mdbreact/dist/css/mdb-pro.css';
Import our main scss file:
import "./assets/scss/mdb-pro.scss"
Step 5: You can override our default SCSS rules.
You can use _custom-variables.scss to change SCSS variablaes.
$danger-color: #006633;
Step 6: If you are using file structure like in the
description you have to change variable of image path. You can add
variablaes to the _custom-variables.scss. If you are using
diffrent file structure you have to do for your own.
// Your custom variables $image-path: "../../img" !default;
Note danger: Path to lightbox.
Step 6a: We are using SCSS files from jQuery and we don't change a structure of variables but if you want to use SCSS in PRO version you have a change a path to lightbox images
Started file
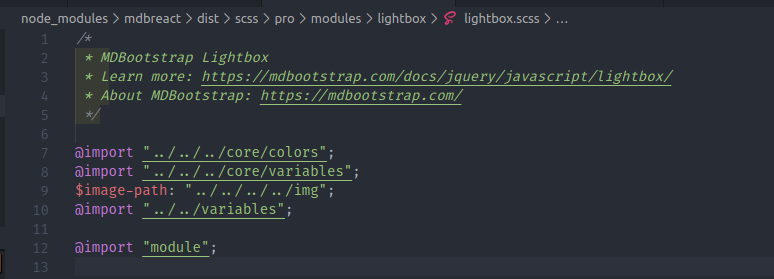
Changed file
Your lightbox.scss should look like this. After that, you
have go to
_variables.scss
file in the assets/scss/pro/ and find variable
$image-path and replace with
$lightbox-images-path (for example).
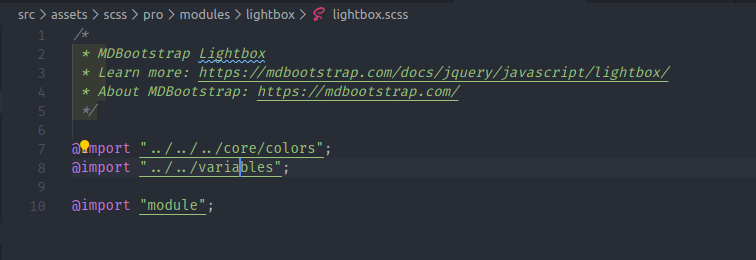
        /*
        * MDBootstrap Lightbox
        * Learn more: https://mdbootstrap.com/docs/jquery/javascript/lightbox/
        * About MDBootstrap: https://mdbootstrap.com/
        */

        @import "../../../core/colors";
        @import "../../variables";

        @import "module";
_variables.scss file

        $pswp__button-background: url(#{$lightbox-images-path}/lightbox/default-skin.png) !default;
        $pswp__button-background-image: url(#{$lightbox-images-path}/lightbox/default-skin.svg) !default;
        $pswp__preloader__icn-background: url(#{$lightbox-images-path}/lightbox/preloader.gif) !default;
If you change this variable for yours then you have add this variable in
_custom-variables.scss. The image with changed variables and
custom $primary-color variable below.
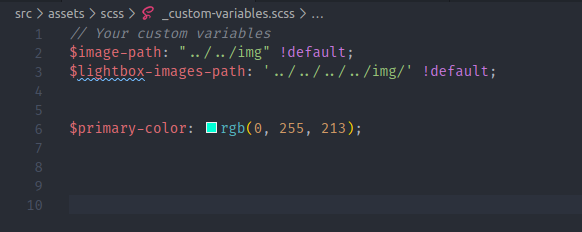
        // Your custom variables
        $image-path: "../../img" !default;
        $lightbox-images-path: '../../../../img/' !default;


        $primary-color: rgb(0, 255, 213);
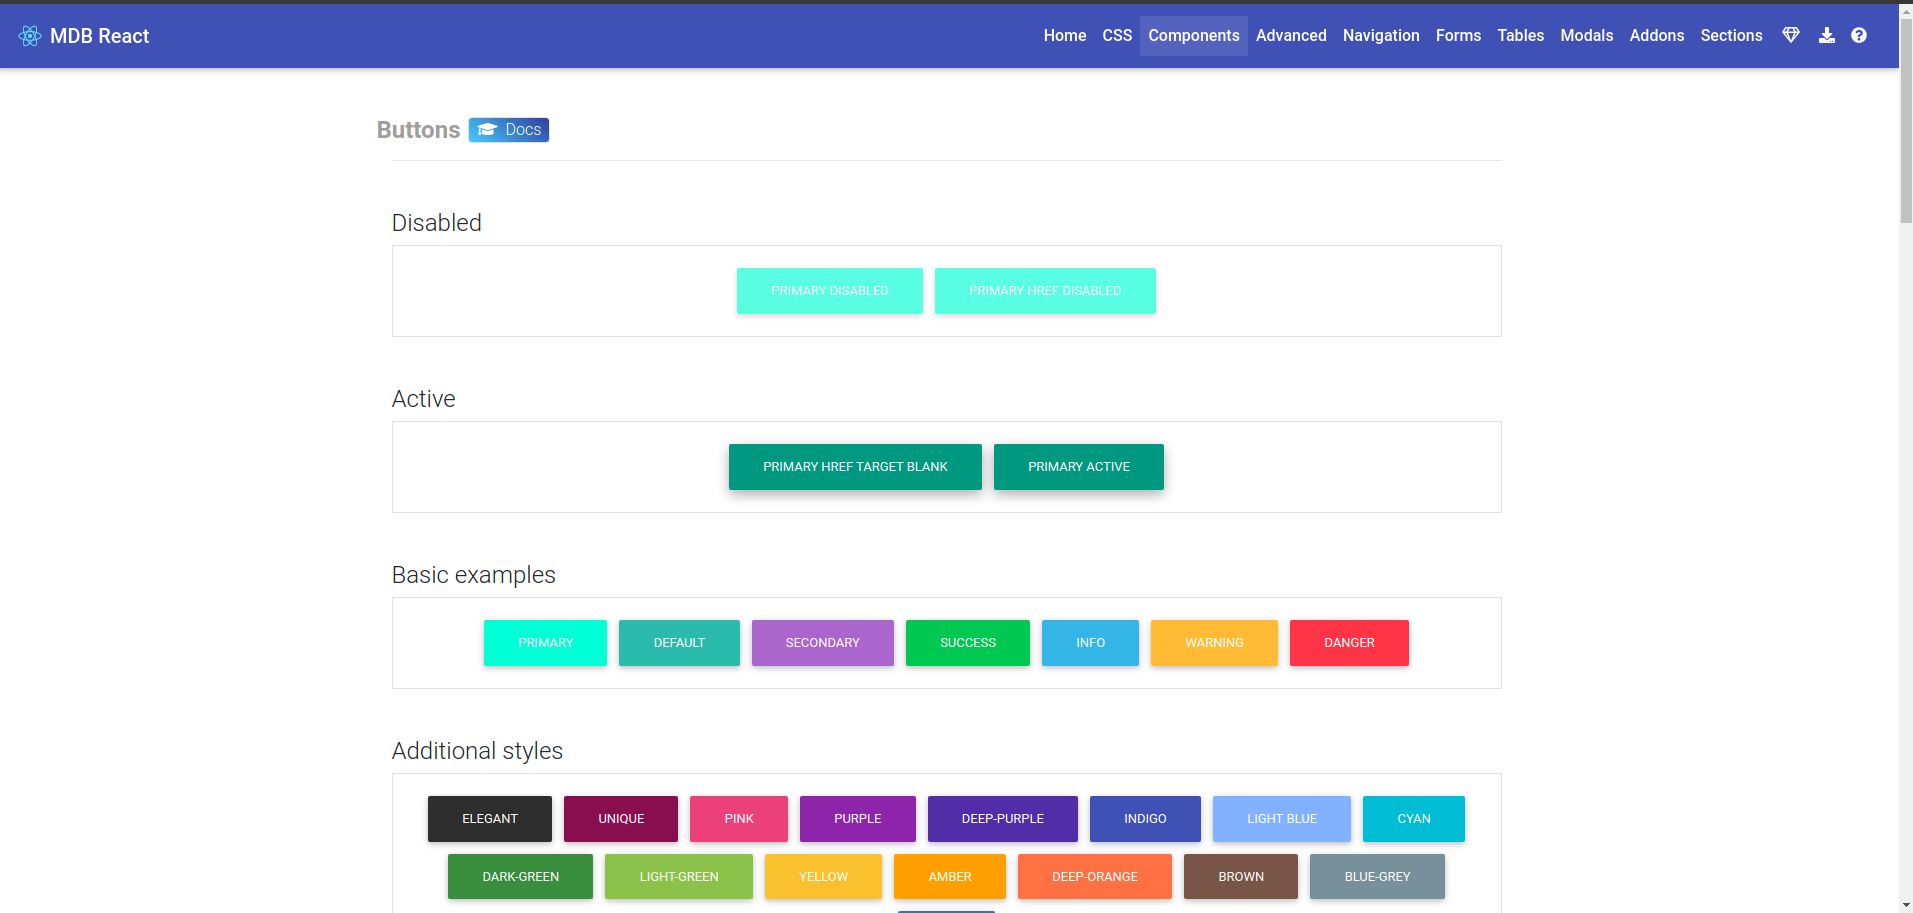
Original buttons
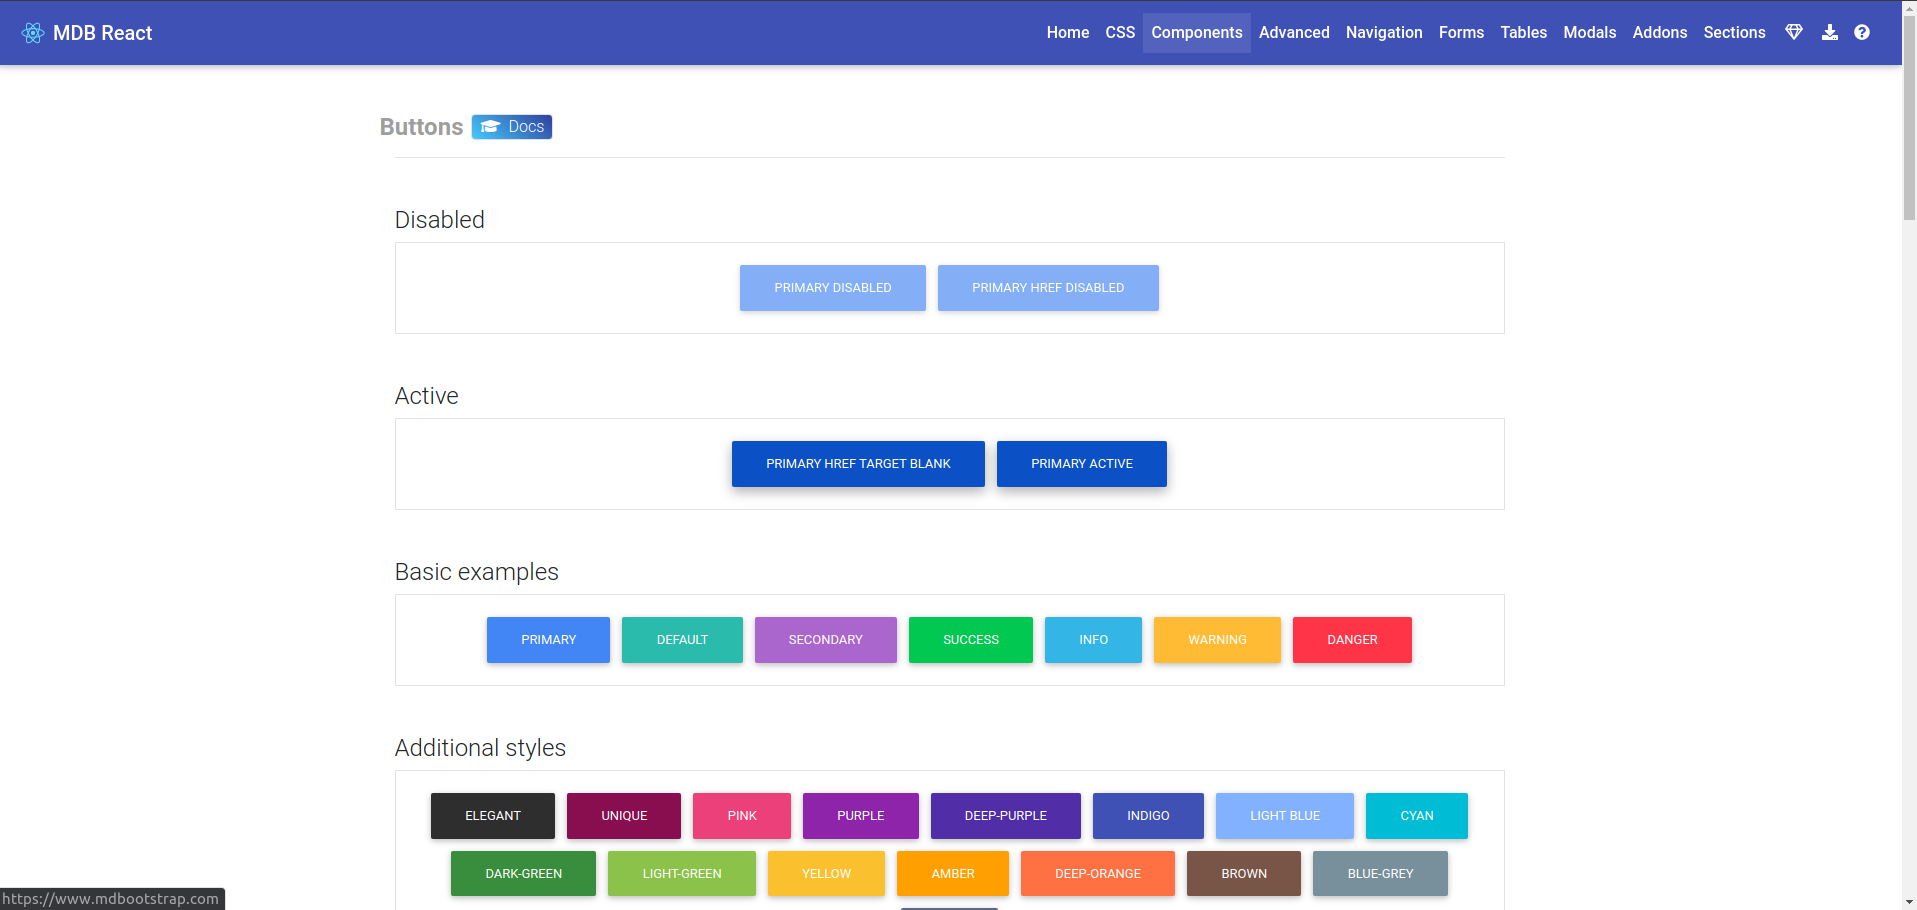
Changed buttons with overwritten variable