
Author: Mikołaj Smoleński
Deploying to Firebase
At this point, we have a small, good-looking application. But to be honest - it is not very useful. It's just a frontend - we are not able to store new appointments and new data won't persist if you refresh the page. The app is also available only on our local environment.
Certainly, we need some backend solution, but on the other hand we are here to learn about PWA concepts, not to bother about servers, API or datastores.
In this tutorial, we are going to use the Firebase platform, a solution provided by Google. It allows us to keep our backend code as simple as possible and focus on what really matters in building progressive web apps.
In order to take advantage of the benefits provided by Firebase, we need to set up a new project there. To do this, open the following address in your web browser.

After logging in to the Firebase service, you need to create a new application. To do this, click the "Add Project" button and go through the short form in which you will provide the name of your project and some other required information.
Now, to be able to communicate with Firebase backend, we need to install firebase-tools globally on
our machine. Open the command line / terminal and type:
yarn global add firebase-tools
After that, let's sign in to the Firebase service using a Google account:
firebase login
In case the firebase command is not recognized by your terminal, it might be necessary to enhance the
environmental $PATH variable with the yarn global bin directory. In case you do, remember
to restart the terminal session.
Next, we need to initialize our app as a Firebase project. In the project root directory run:
firebase init

The console will ask you a few questions - answer them according to the guide below:
- Which Firebase CLI features do you want to setup for this folder? For now, let's just select
Hosting. We can always add additional services later in case we need them. - Select a default Firebase project for this directory Choose the existing project - the one you have just created on the Firebase platform
- What do you want to use as your public directory? -
dist- it's where our production code shall leave (after the first build) - Configure as a single-page app (rewrite all urls to /index.html)? (y/N) -
y
Firebase will create two files: firebase.json, containing app configuration, and
.firebaserc with Firebase project details. If you want to change any settings you defined during the
initialization process, check them out.
Before we deploy our application to the Firebase servers, we will prepare a little node script which will help us
in saving us some keystrokes in the future. Add following to the package.json file:
      ...
      "scripts": {
      "deploy": "yarn build && firebase deploy",
      ...
From now on, to deploy a new version of our application, we just need to run this script. It fires the build process, which prepares a production version of our application and then sends it to be hosted on Firebase. Now, all that is left for us to do is to publish our app.
yarn deploy
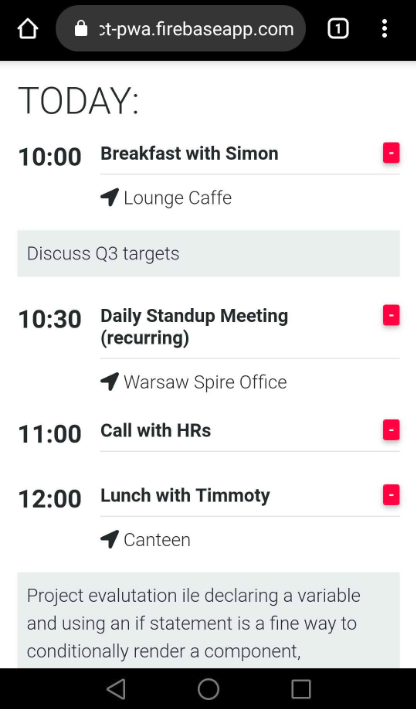
And that's it! Your first application is already on Firebase servers awaiting you to visit it on at the given address!
Something doesn't work for you? Check the code for this lesson on our repository
Previous lesson Download Live preview Next lesson
Spread the word:
