
Author: Dawid Adach
1. Download project files
Once we have our environment ready (i.e. npm installed). Let's download the working files. We can do it in two ways:
1.1 GIT repository
In order to download working files, open a console and type:
git clone https://github.com/mdbootstrap/Vue-Tutorial-Agenda-App.git
1.2 ZIP file
If for some reason you don't want to use git directly, you can simply download this zip file and extract it.
Info:
The working directory contains multiple folders for each section (getting-started, agenda-app) and inside those are other folders called lesson-x where x is the number of the lesson. Each of the folders contains the final code from a given lesson. In case of facing issues you can always refer to the corresponding lesson folder, check final code and compare with yours to spot the difference.
2. Open project
Open a project in your favorite editor. I use and recommend Visual Studio Code (VSC) from Microsoft
Tip:
If you use VSC I strongly suggest installing the Vetur extension which will add useful features to VSC like a syntax highlighter and .vue file recognition.
Installation:
Open VSC, choose View > Extensions from the menu (or hit ctrl + shift + x). Then search for Vetur in a search bar and click on the Install button next to it.
In order to open a project using VSC:
- Open VSC
File>Open Folder- Navigate to
getting-started/start-herefolder - Click on
Select Folder

3. Start project
In order to start a project we will use Node Package Manager (npm). Make sure you have npm installed in order to verify that you can open a default terminal/command line:
- Open Command line (below instruction how to open it for Windows, MacOS and Linux)
- Type
npm -vand press Enter - Navigate to the project location using the command
cd(the location on your computer will be different): - Install dependencies using the
npm installcommand - Start the project using the
npm startcommand - Open a web browser and navigate to http://localhost:8080
How to run command line?
Keyboard shortcut:
On your keyboard press: + R . You will see Run windows. Type cmd and click OK or press Enter

You will see a screen like below:

That's it. You can now use a command line, however, please keep in mind that Windows Command Line is - frankly speaking - a crappy tool. That's why we strongly encourage you to use some alternative such as GitBash (installation guide here). It has more Unix-like commands that are more user-friendly than built in windows commands.
How to run command line?
Keyboard shortcut:
Press cmd ⌘ + space to open Spotlight search, then type terminal and hit Enter ⏎

You will see a screen lke below:

Unix unlike Windows or macOS, doesn't necessarily have a Graphic User Interface (GUI), therefore in some distributions like RedHat, CentOS, Debian, and Ubuntu Server the terminal will launch immediately after bootin up the machine.
In case you use a GUI, they may look different. However in most cases you they will have Windows-like "Start" button which will open the search menu that allow you to find terminal app.
Sample start screen on Ubuntu:

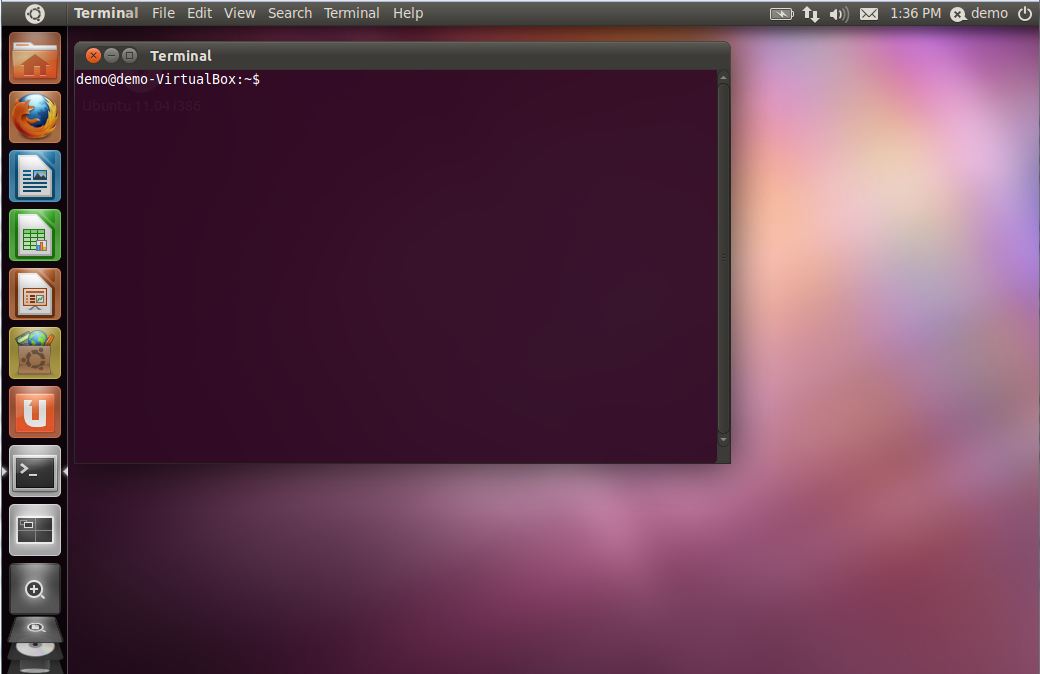
Also terminal windows and colors may vary depending on the distribution, - here is a sample Ubuntu terminal:
If you can see the version of npm we can start the project (go to the next step). Otherwise you have to install npm first. Here you can find the guide on how to do it.
cd C:\Users\Dawid\vuetutorial\getting-started\start-here>
4. Hello World!
- Open the
src/App.vuefile. - Type
<p>Hello Vue World</p>between<template></template> - Check the result in a browser:


Voila! Our application is running. That was easy, wasn't it? Now let's have a closer look at our project structure to understand how Vue project works.
5. Project structure
Let's have a look at the files within our project. There are multiple folders and files and each is responsible for a variety of functionalities, however you don't have to know all of them, for now, I will introduce you to the key files and directories within our project.
Let's have a look at the project tree:

- The
node_modulesdirectory is where all of the libraries we need to build Vue are stored. - In the
srcdirectory, is placed the source code of your application. - In the
assetsddirectory, is placed the any static assets such as images or icons. - The
App.vuefile is the root component that all the other components are nested within. - The
main.jsfile is what renders our App.vue component (and everything nested within it) and mounts it to the DOM. index.htmlis the main file of our app.
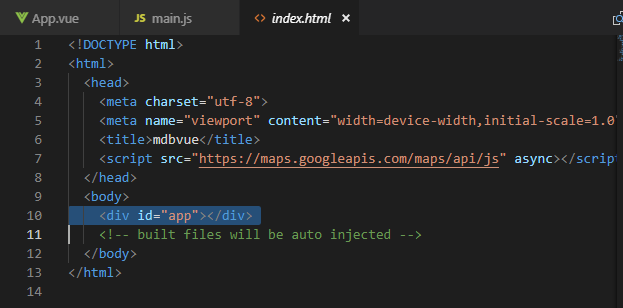
If we peek inside our index.html file, we can see there’s a div with the id of "app", which means this is where our App will be mounted.
6. Single file components
Let's have a look at App.vue file. This is a so-called single file component.
As you may notice the file consists of three parts:
- Template
- Scripts
- Styles
As you can easily deduce, the template part is responsible for a view of our component, the script contains the configuration of the component as well as the required functions, while styles contain the dedicated CSS styles that are applied to our component.
In the next lesson, we will learn how to build and use sample components.
Important!
I am very happy that you reached this far. I would like to thank you and ask you for a small favor. Please rate this lesson using he stars below.
Your feedback is very important to us! Once you vote (it's just a single click!) there will be an optional form which let you leave comment to us. Please let us know what you liked and what you didn't like to help us make later tutorials better and better!
It would be awesome if after each lesson you would be so kind and gie a click to rate every lesson. I would appreciate that! Thanks!
Previous lesson Download Next lesson
Spread the word:
